

How Do I Copy To Scene Camera In Sfm
Michael Lessing Presents
Source Filmmaker (SFM)
A Visual How-To
Section 1: Models and Posing
Welcome to the world of Source Filmmaker (SFM for short)! SFM is a freeware animation engine created by Valve, creators of the pop Half Life, Team Fortress, and Portal series of games!
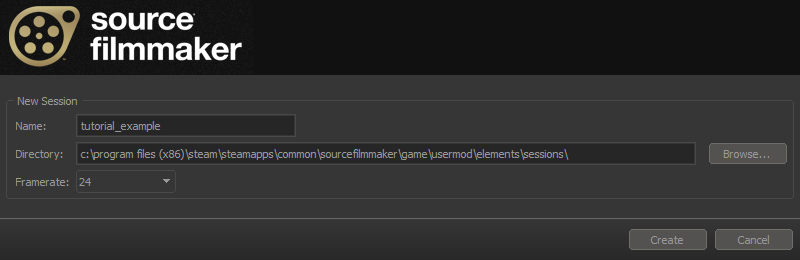
By this point, you will likely have already started SFM and started a new sequence from the popular-up menu that appears on startup.
Later starting your sequence, the first matter we need to do is load a map to employ for your render. To do this, right click the viewport and select "Load Map." From at that place, select whatever map you desire to use from the list that appears. For this lesson and all lessons going forrad, I will be using one of the default maps, phase.bsp, found nether tf-movies.
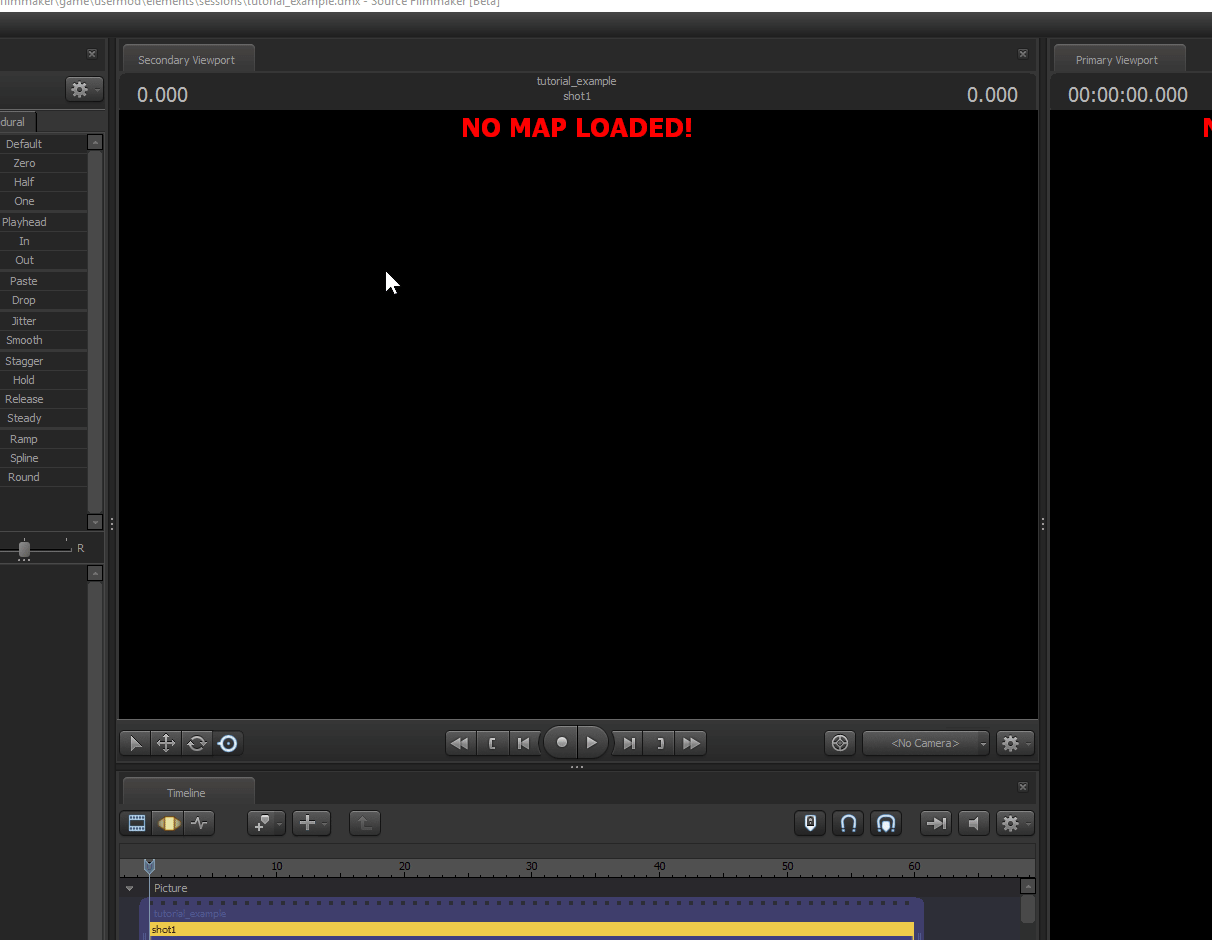
Now that your map of choice is loaded, in that location'southward i terminal thing nosotros need: an actual model to pose!
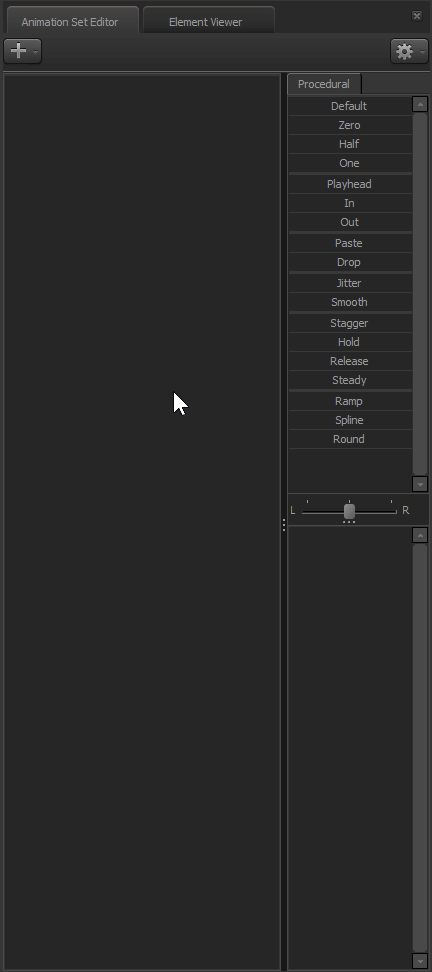
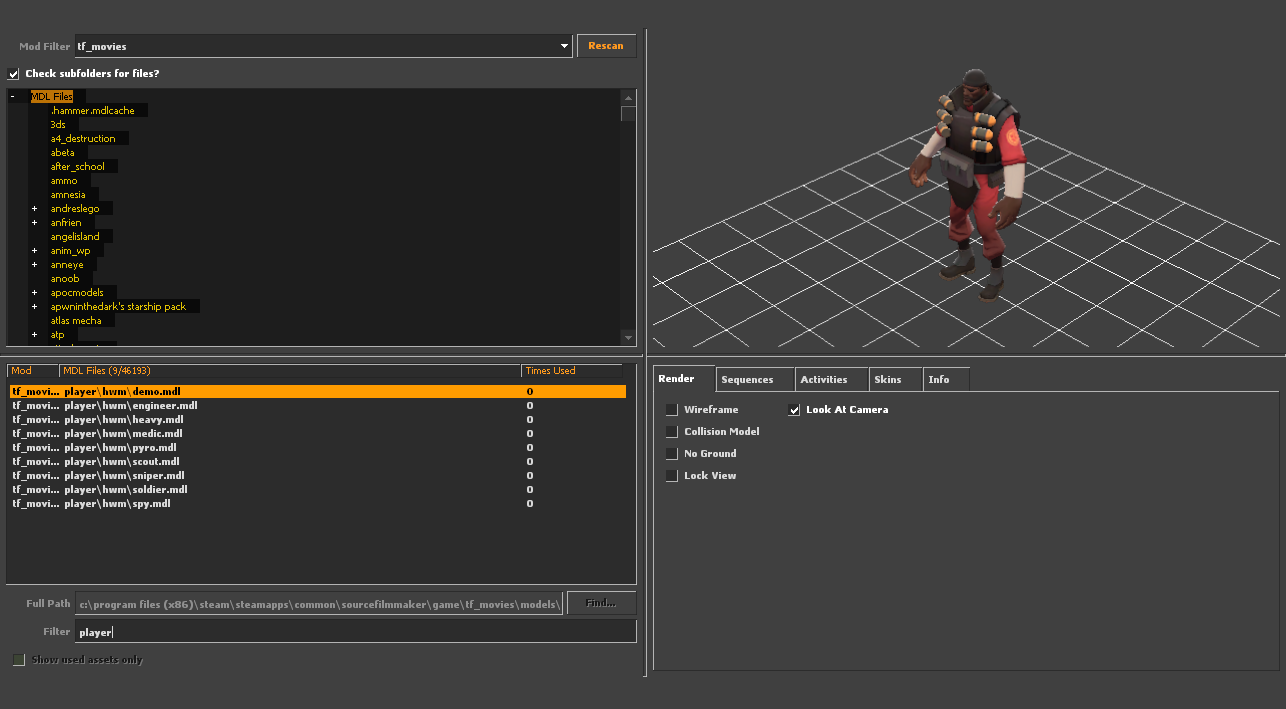
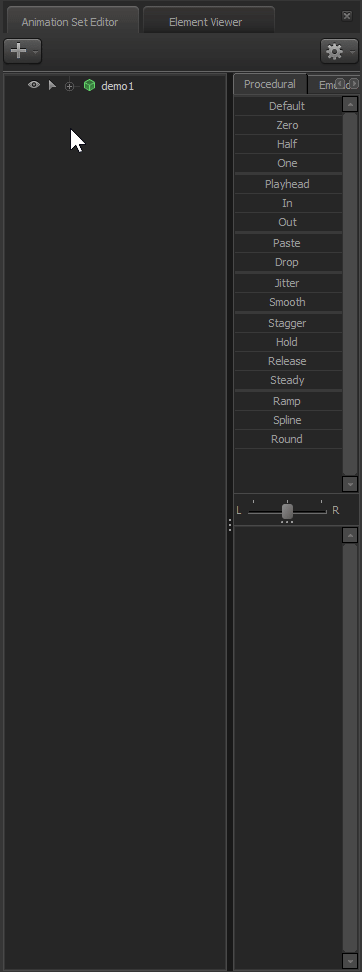
Notice this empty box on the left side of the screen? This is known as your Animation Gear up Editor. This is where all of your spawned elements appear for choice. You may have also noticed a small plus (+) symbol on the top of this box. Clicking on it will reveal a few unlike options, all of which spawn unlike entities. For this lesson, y'all only demand to click on "Creat Animation Prepare for New Model." Alternatively, you can correct-click the box and the same options volition appear.
A window volition pop upwards that should look something like this
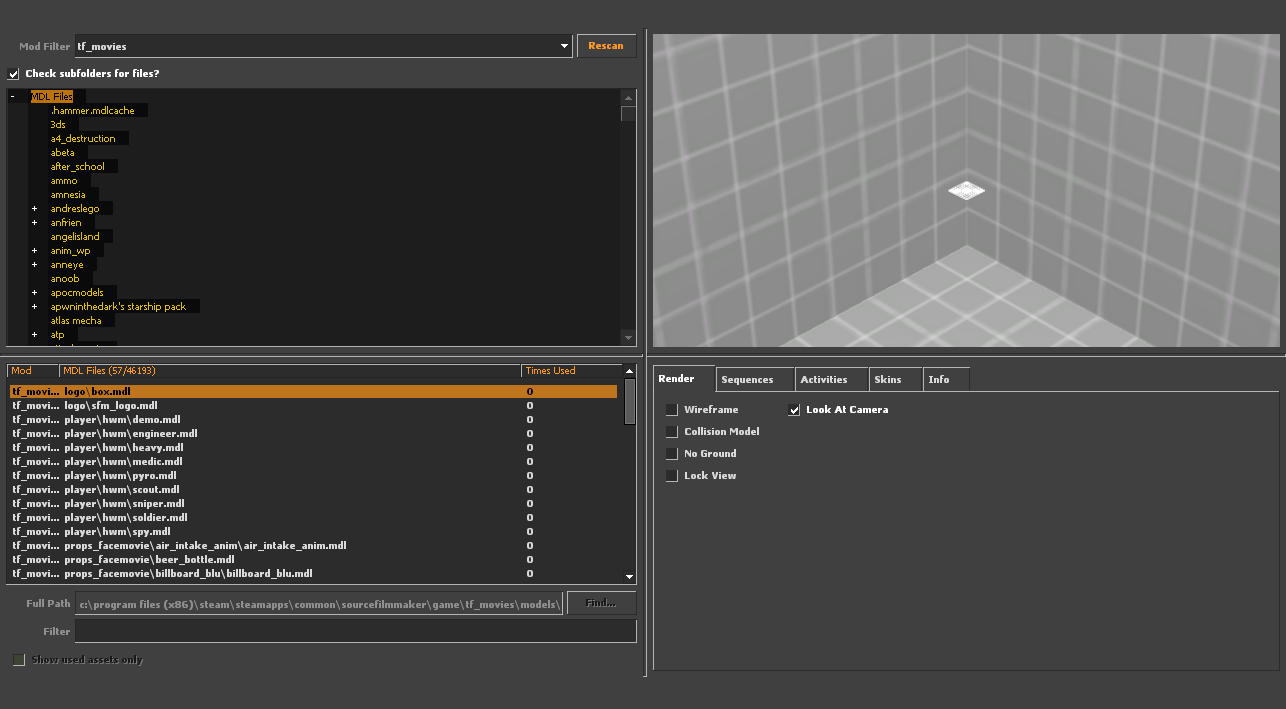
While at that place is a lot to this window, don't freak out. While each console has its uses, you just need to focus on two parts of the window; the model list (bottom left) and model viewer (top correct)
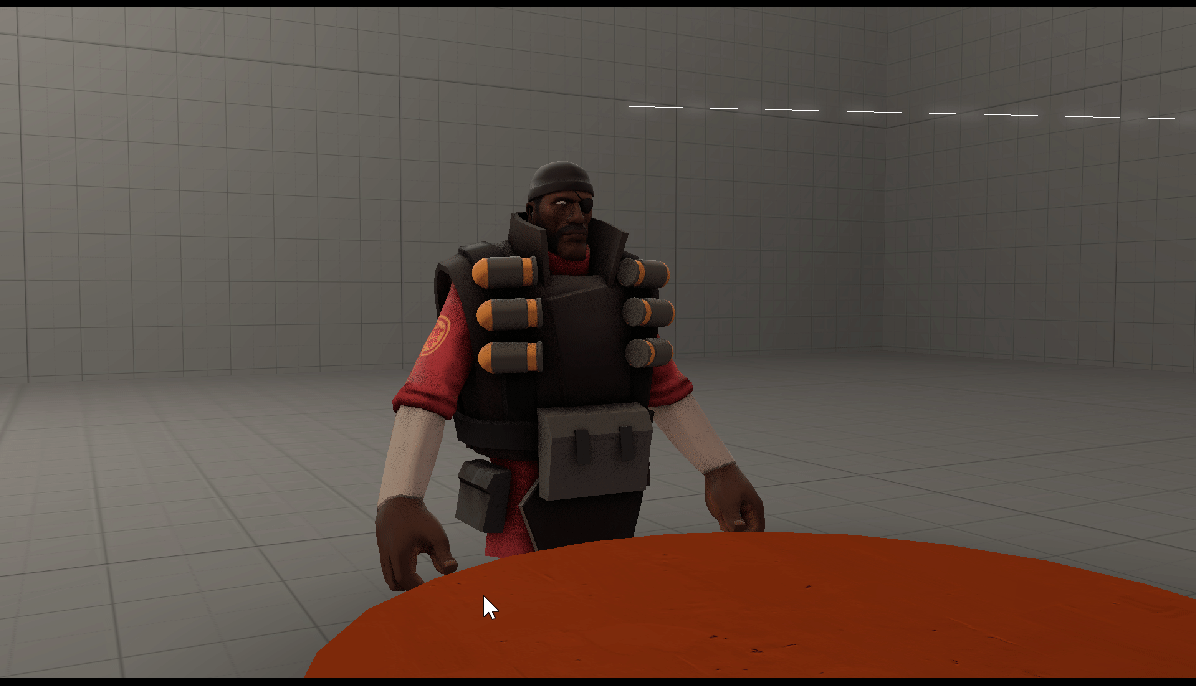
Alright. Now that we're here, fourth dimension to choose a model. The best and easiest fashion to find a model is to use the search bar below the model listings. Merely type in the name of the model you wish to use, and the list will be filtered out to include simply models with that keyword. For this lesson, since they are included with the standard SFM package, nosotros'll be using a playermodel from Team Fortress 2, which can be establish in tf-movies.
Now that we've spawned our model, time to really go it into a pose. The process requires a bit more than work than the previous steps, but becomes straight-forward once you become into the rythm of it. First things first, we need to identify SFM into "posing" mode. You should see a timeline below the viewport. Something that looks like this:
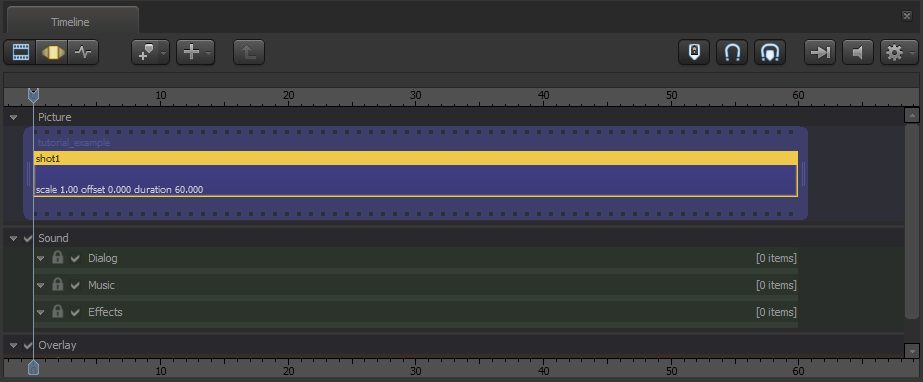
By default, the timeline will offset on what is known as the "clip editor." The clip editor lets y'all edit animation clips similar to how you would in any video editing software. This is not essential to this lesson, withal, and then yous don't need to know much more than that for right now. What SHOULD be the focus is the 3 little buttons on the left, only to a higher place the timeline
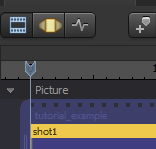
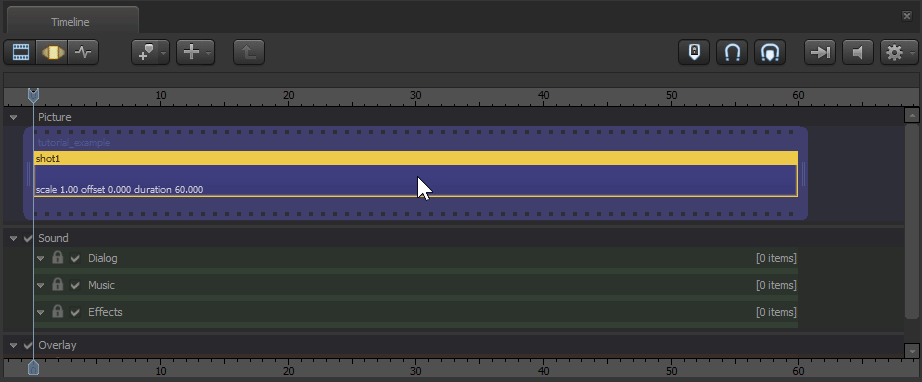
These three buttons stand for the 3 editors that SFM uses. The first is the clip editor, which is what we're on at present. The second (middle) is the move editor, and the third (right) is the keyframe editor. The motion and keyframe editors, while different in blueprint, are both essential to both posing and blitheness. Since we're only focusing on the pose, yet, we only need to click on the motion editor button. Doing so should open an editor that looks similar this:
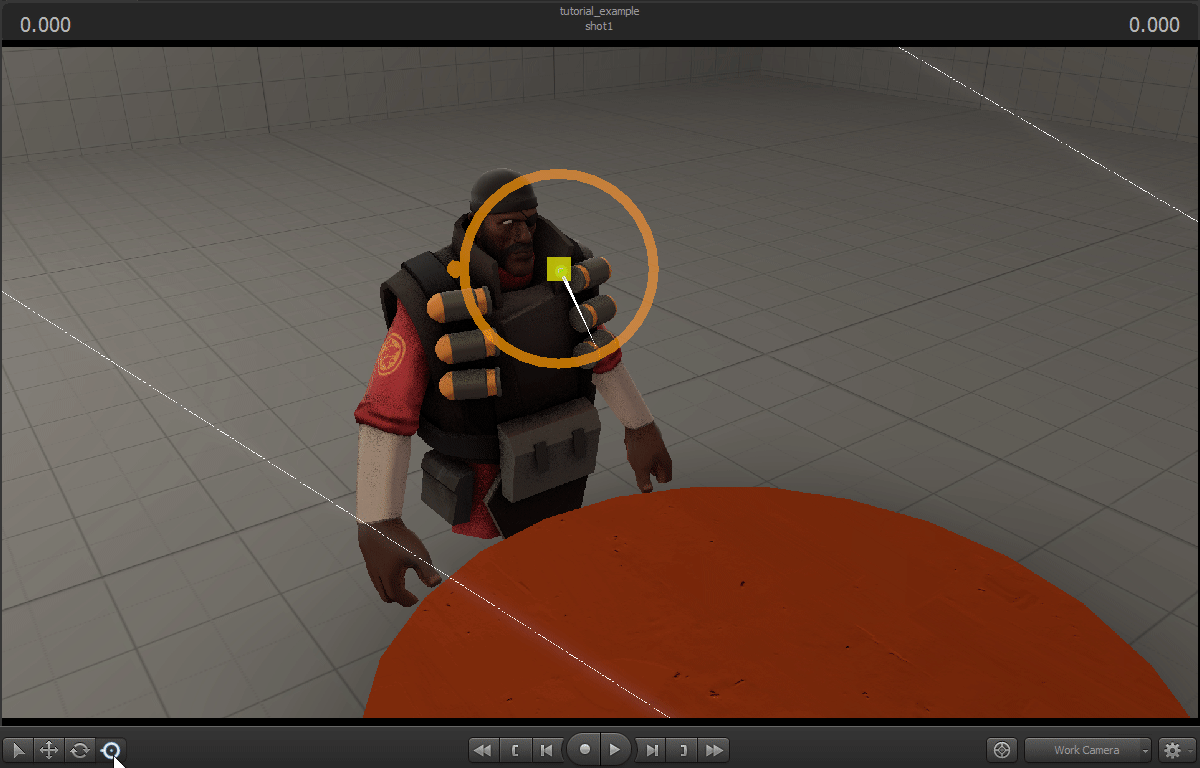
At present that we have the motion editor turned on, we tin at present manipulate our model. To get started, hover your mouse over the viewport and agree control (Ctrl).
You lot should now see white lines and dots on your model. These are the model's bones. The bones that are on the model will vary, but grapheme models generally have this kind of bone structure. Now, while holding Ctrl, click on 1 of the bones. Doing this should outcome in the bone beingness selected and enabling poseablity on that bone.
There are three different types of posing modes: rotational, directional, and screen. Y'all can switch between these modes using either the buttons on the lower left of the viewport window, or the Q, Eastward, and R keys respectively.
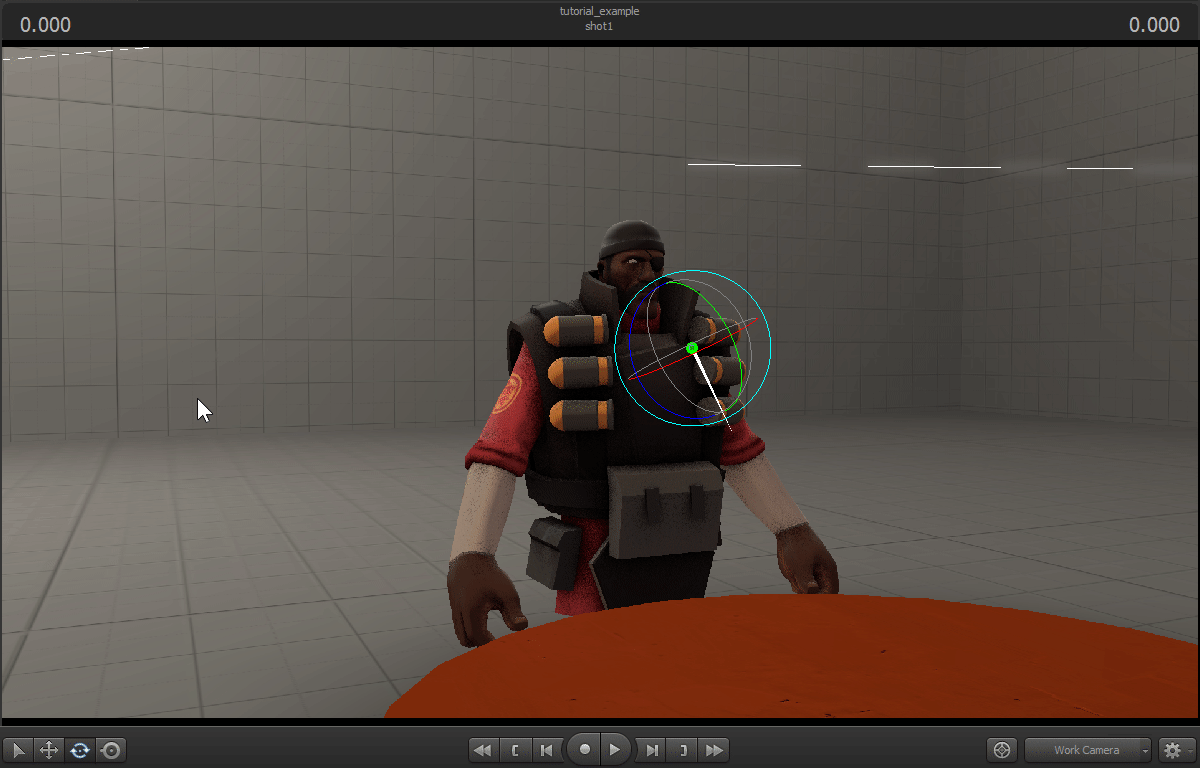
Rotational posing mode lets you rotate the bone you lot selected. In that location are four rings on this mode: scarlet, bluish, green, and a lighter blue ring. The RBG rings signify the different rotational axis, while the low-cal blueish ring stays relative to your screen. To employ them, click on the rings and elevate your mouse, and the bone will rotate in the direction of the axis you use. Alternatively, clicking anywhere between the rings will let y'all freely rotate the bone.
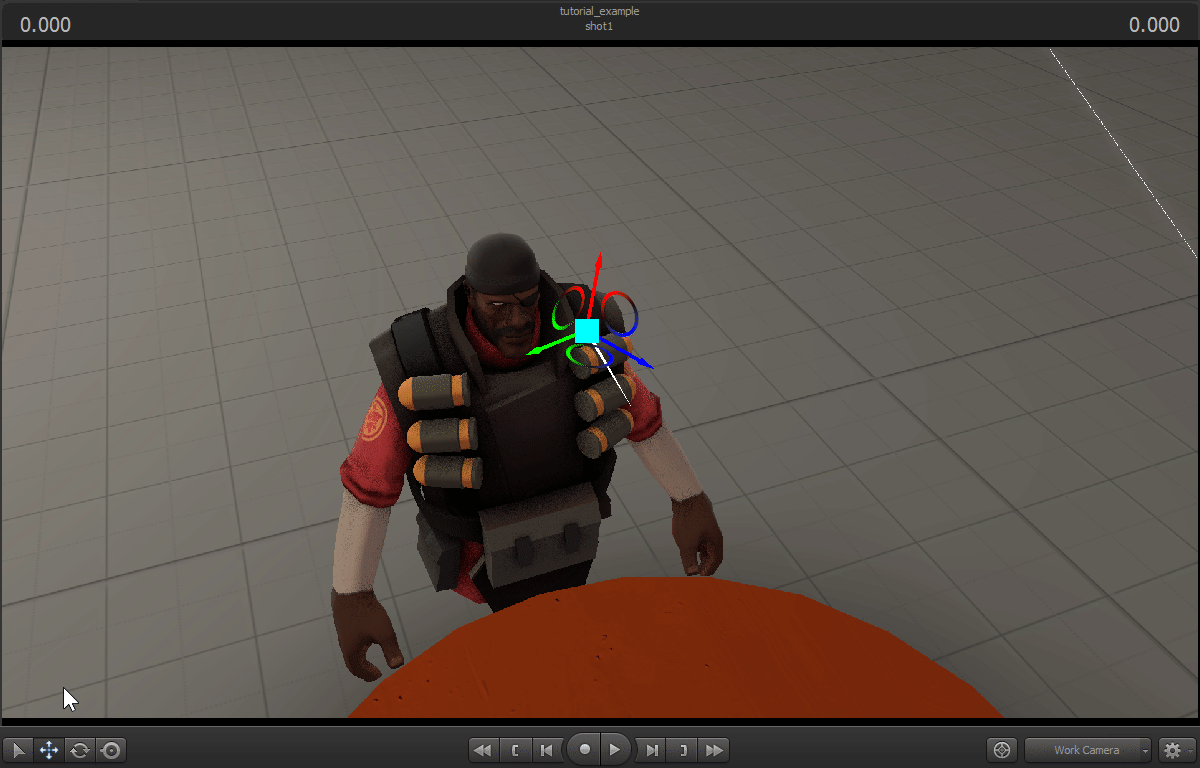
Directional posing works in a like vain to rotational, only this fourth dimension it moves the bone rather than rotate. Click and drag the arrows to make the bone move in that management, or click on the light blue square in the heart to move the bone relative to the screen. You will also notice rings betwixt the arrows. Depending on which ring y'all drag, the bone volition motility relative to the two axis that the ring sits betwixt.

Screen posing works as a combination of the first two modes, simply it works entirely on the viewport. Clicking the middle foursquare and dragging will motility the os in relation to where your viewport is looking. Clicking and dragging the center circle will freely rotate the object, and clicking the outer band will rotate the os relative to the viewport.
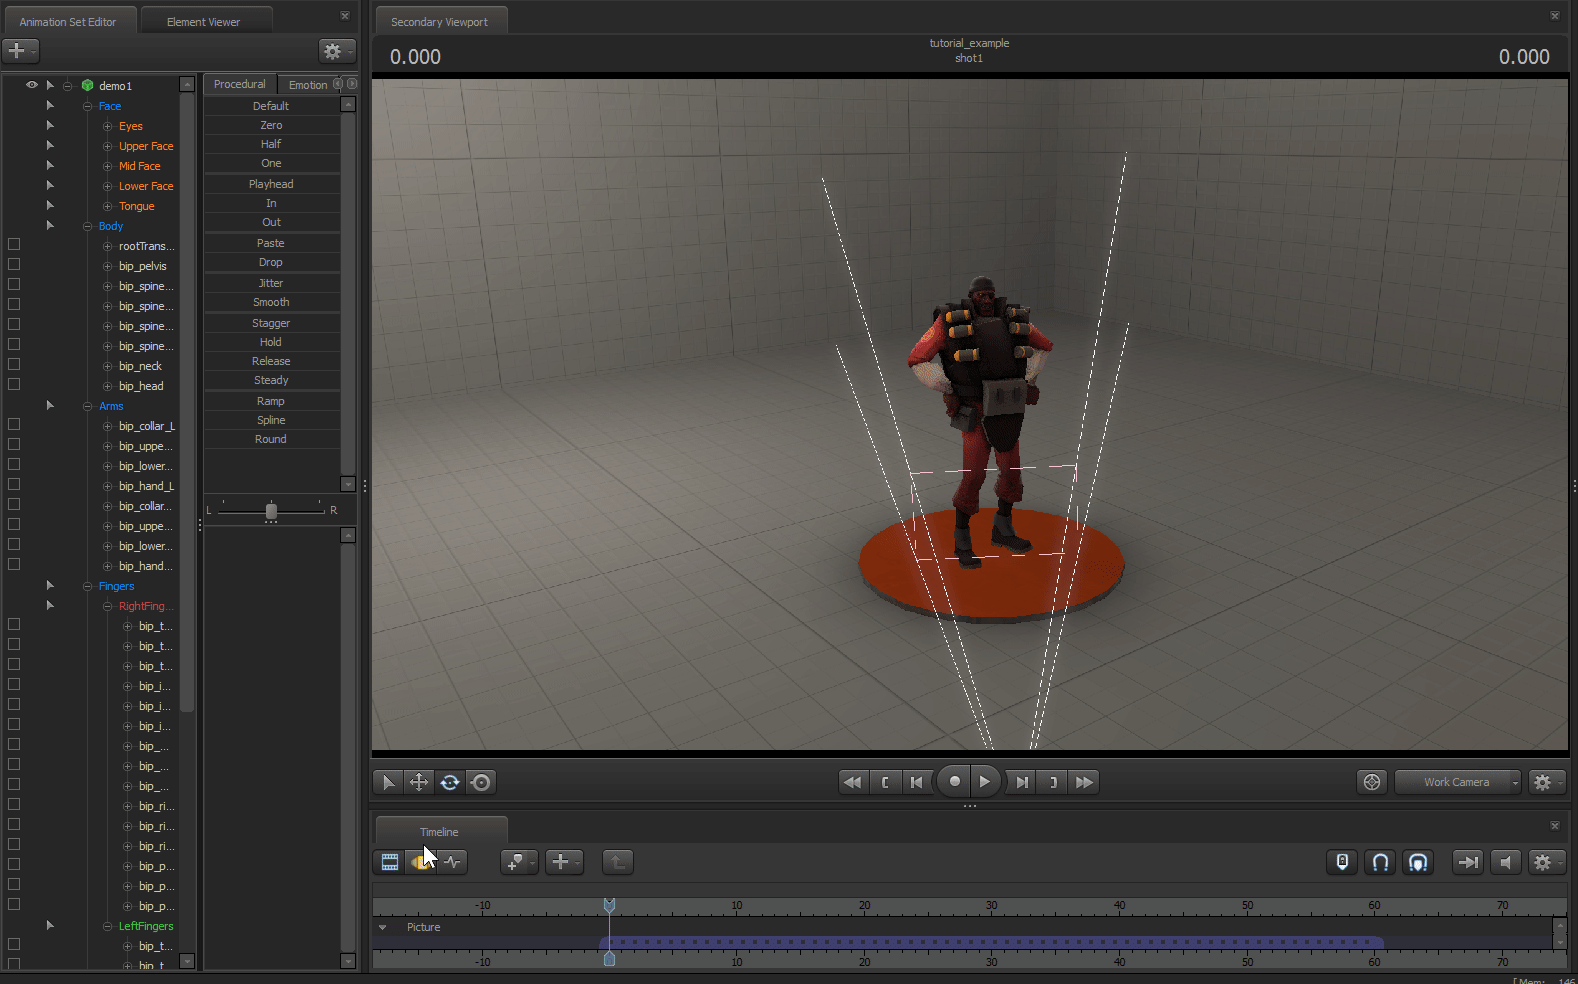
Now that you lot know how to use these posing modes, take the time to pose your model yet you want. Earlier yous practice that, still, we should requite our character a flake of expression. Faceposing on characters varies from model to model, merely for the TF2 models, open up your model'southward animation set and click on "face." You should see a list of pick just to the correct of the animation set editor.
These options are all sliders. Slider-based posing is simple to follow. Allow's look at the optics, which should exist the first one on the list

If you click and drag the sliders, yous'll notice the eyes on your model motility. This is essential to centre-posing, allowing the model to look in any direction you want it to. Yous can exercise the aforementioned with the many sliders plant below the eye sliders. Play around with these for a bit until you come upward with a good expression for your model.
1 last step: if you select the model from the animation set editor, you'll select all of the basic on the model, including one called the "roottransform." This is a universal bone that exists on all models, and is used to movement the entire model. Once you lot accept the model selected, you'll exist able to position it anywhere on your map!
And that concludes basic use of posing in Source Filmmaker! Click here to go direct to the side by side lesson!

Source: https://www.dtc-wsuv.org/mlessing16/narrative/posing.html
Posted by: larsonourst1973.blogspot.com
0 Response to "How Do I Copy To Scene Camera In Sfm"
Post a Comment